"They were greatly disturbed because the apostles were teaching the people, proclaiming in Jesus the resurrection of the dead. They seized Peter and John and, because it was evening, they put them in jail until the next day. But many who heard the message believed; so the number of men who believed grew to about five thousand......When they saw the courage of Peter and John and realized that they were unschooled, ordinary men, they were astonished and they took note that these men had been with Jesus." Act 4:2-4, 13
God was using Peter and John in extraordinary, supernatural ways, in ways that could only be attributed to God, yet the passage takes care to note that they were unschooled, ordinary men. You don't have to have a seminary or Bible school degree or even have grown up in Sunday School to be used by God in amazing, miraculous ways. I know I have been guilty at times of thinking I did not know enough or had not studied enough or did not have the degree, to do something God was calling me to do but really it is just an excuse. With the power of the Holy Spirit we can truly do anything God is calling us to do. He wants it to be so evident that what we are doing could only be attributed to Him that many times he does use people or call people to do things for Him that are not in their comfort zone or areas of expertise. I urge each of you to be open and willing to be used by God in ways you never could have imagined. Follow where He is guiding you, even if it does not make sense to the world.
Tuesday, June 19, 2012
Thursday, June 7, 2012
Layered Ice Cream Cake


Like seven years ago or so I got this recipe from a hard copy of Family Circle Magazine and it became a favorite of my husband and I made it often for birthdays and special events. Pre - Feingold Diet I even made it once for the 4th of July using toxic food coloring to make red, white and blue layers. Not really quite sure why but the recipe kind of got put on the shelf and I have not made it in a year or two. Maybe because we live in Alaska now and I am always cold, not really thinking of things like ice cream or maybe because I did not want to go to the effort of trying to adapt it for the Feingold Diet (it was really easy to do so). Well I committed a major faux pas back in May and kind of overlooked my husband's birthday. I did not forget it. He was gone on business and me and the kids were gone to the lower 48 to visit family. We did call him and wish him happy birthday on his birthday, my eldest did get him a birthday present that he gave him at like 5am when he returned from his business trip, but we had said that we would pick a time to celebrate it when we were all together and we just never did. Because throughout 10+ years of marriage I have always made kind of a deal out of such events, unfortunately I think there were some hurt feeling from that. I know I cannot fix it but with Father's Day rolling around I wanted to make a big deal out of it. So we surprised my husband yesterday by celebrating Father's Day early. We will not be here for the actual Father's Day. We are taking a family vacation and are prepping for a big move. As part of the surprise Father's Day celebration I wanted to make a special desert and I thought this would be great. My husband's dessert of choice and comfort food is ice cream and for him I thought this would take the cake (no pun intended). It was not hard to adapt it for the Feingold Diet although because the ice creams I used are natural without food dyes they do not have the colors that kind of pop out. Looking at the picture it might be hard to tell that it is actually layered with three different flavors of ice cream but it is. If you want to see a more professional picture of it you can look at this link I found referencing the original Family Circle recipe http://www.recipe.com/layered-ice-cream-cake/
I used vanilla, strawberry, and mint chocolate chip but you can use whatever flavor combination you choose.
Ingredients
15 Oreos (I made my own homemade oreos but there are pre-packaged brands for the Feingold Diet)
1 Tablespoon Milk
8-9 Ice Cream Sandwiches (I used Julie's Organic vanilla ice cream sandwiches)
1 Pint Mint Chocolate Chip Ice Cream (Breyers)
1 Pint Vanilla Ice Cream (Haagen Dazs comes in pint size)
1 Pint Strawberry Ice Cream (Haagen Dazs comes in pint size)
1 Container (8oz) frozen whipped topping,
thawed (I made my own whipped cream adjusting the recipe to make 3 cups whipped cream but I think there are Feingold approved brands).
Directions
1. Oil Bottom and side of a 9inch round
springform pan.
Line side with waxed paper, using oil to help adhere to pan. Trim paper to height of pan.
2. Finely crush 12 of the cookies in a
food processor. Add milk; pulse until
mixture holds together. Set aside
3. Unwrap 4 ice cream sandwiches. Working
quickly, cut each in quarters. Stack
strips of sandwiches on end, packing them snugly together, around waxed-paper
lined pan. Repeat with remaining
sandwiches to form a stand up edge.
Spoon cookie crumbs into center of pan; press firmly over bottom. Freeze one hour.
4. Remove all 3 flavors of ice cream or
frozen yogurt from freezer and let soften for 15 minutes at room temperature.
Transfer mint ice cream to a small bowl and stir until good but firm spreading
consistency. Repeat with vanilla and
strawberry. Remove pan from freezer. Spread mint ice cream on bottom, then top
with vanilla and strawberry, spreading all layers level. Top with thawed whipped topping swirling top
decoratively. Crush remaining 3 Oreos
and sprinkle over cake. Return to
freezer.
Oil springform pan and line side with wax paper.

Crush oreos in food processor, add milk, pulse until it starts to stick together.

Cut ice cream sandwiches in quarters and line sides of pan, add oreo mixture to the center and firmly press down to make bottom crust, freeze for an hour.

After stirring ice cream to spreading consistency add one flavor at a time, spreading to fill middle, making each layer level.

Then top with whipped cream which should come to the top of the pan, add broken up or crushed oreos, freeze, and when ready to serve remove side of pan and waxed paper.

Whipped Cream

If I knew how easy it was to make homemade whipped cream I would have been doing this long before I discovered this fact. I had this recipe in my box of recipe cards and am not sure where I got it from but again it is super easy.
For
1 cup whipped cream – beat ½ cup whipping cream and 1 tablespoon
granulated or powdered sugar in chilled
small bowl with electric mixer on high speed until stiff (this may take several minutes).
For
1 ½ cup whipped cream – beat ¾ cup whipping cream and 2 tablespoons granulated
or powdered sugar in chilled bowl with electric mixer on high speed until
stiff (this may take several minutes).
Tuesday, June 5, 2012
Homemade Oreos!!

These are soooo gooood!! Made using a recipe from this website http://smittenkitchen.com/2007/05/my-kingdom-for-a-glass-of-milk/#comment-1930118 So with Father's Day coming up (we are celebrating early) I wanted to make an ice cream cake (recipe to come later) for my hubby. I have not made it in a while and he looves it. The recipe calls for an oreo crust as the base but you guessed it, my eldest cannot have the name brand oreos. I am not about to make something that good that my child cannot have. There are alternative brands he can have but the last one we tried we were less than impressed with. Besides I am kind of more inclined to make my own and am trying to use up food items in the pantry and fridge in preparation for an upcoming move. I got on Pinterest, found this recipe, made them and think I have added inches to my waistline just by making them. I am not sure these are going to make it into the ice cream cake as I am sure they will get eaten beforehand.
For the chocolate wafers:
1 1/4 cups all-purpose flour
1/2 cup unsweetened Dutch process cocoa
1 teaspoon baking soda
1/4 teaspoon baking powder
1/4 teaspoon salt
1 to 1 1/2 cups sugar (I used 1 1/4)
1/2 cup plus 2 tablespoons (1 1/4 sticks) room-temperature, unsalted butter (I used Tillamook)
1 large egg
1 1/4 cups all-purpose flour
1/2 cup unsweetened Dutch process cocoa
1 teaspoon baking soda
1/4 teaspoon baking powder
1/4 teaspoon salt
1 to 1 1/2 cups sugar (I used 1 1/4)
1/2 cup plus 2 tablespoons (1 1/4 sticks) room-temperature, unsalted butter (I used Tillamook)
1 large egg
For the filling:
1/4 cup (1/2 stick) room-temperature, unsalted butter
1/4 cup vegetable shortening (I used coconut oil which worked great. It did give the filling a slight coconut flavor but was unnoticeable when combined with the cookie part, or you can use an additional 1/4 butter)
2 cups sifted confectioners’ sugar
2 teaspoons vanilla extract
- Set two racks in the middle of the oven. Preheat to 375°F.
- In a food processor, or bowl of an electric mixer, thoroughly mix the flour, cocoa, baking soda and powder, salt, and sugar. While pulsing, or on low speed, add the butter, and then the egg. Continue processing or mixing until dough comes together in a mass.
- Take rounded teaspoons of batter and place on a parchment paper-lined baking sheet approximately two inches apart. With moistened hands, slightly flatten the dough. Bake for 9 minutes, rotating once for even baking. Set baking sheets on a rack to cool.
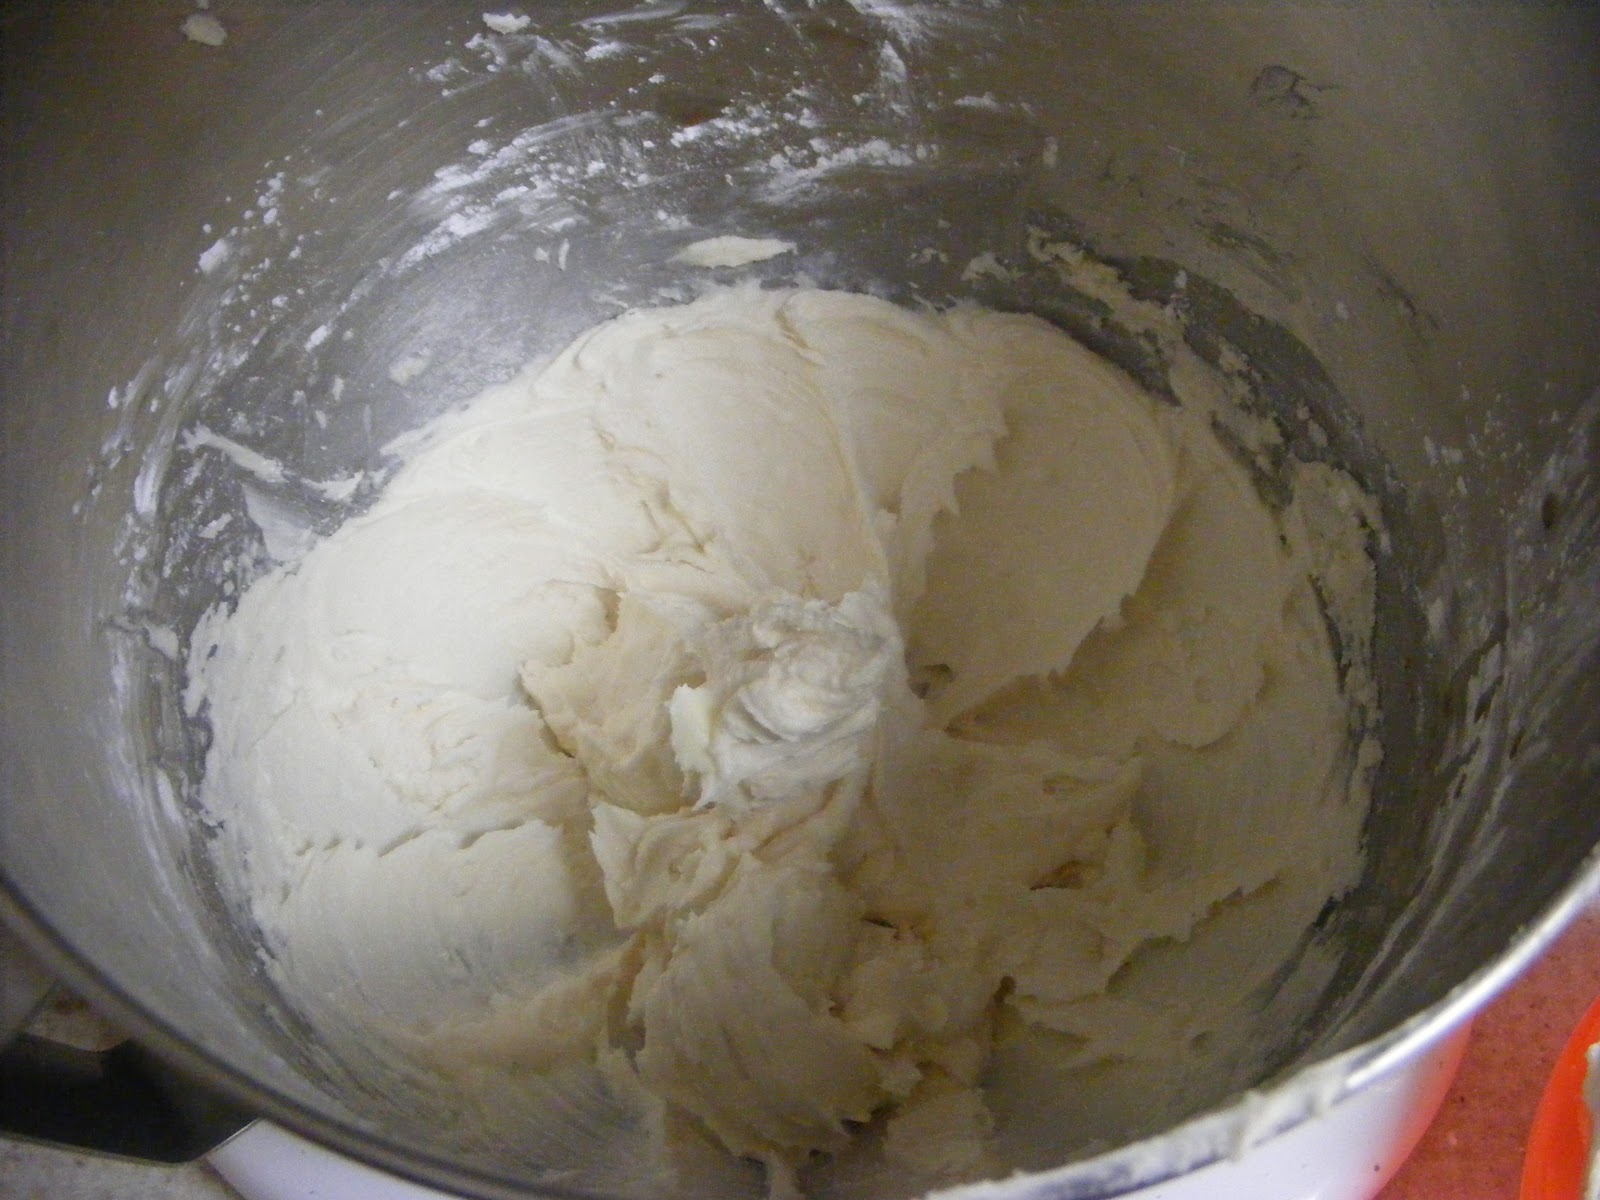
- To make the cream, place butter and shortening (or substitute) in a mixing bowl, and at low speed, gradually beat in the sugar and vanilla. Turn the mixer on high and beat for 2 to 3 minutes until filling is light and fluffy.
UPDATE : Even though my husband, youngest and myself loved how these turned out my eldest was not thrilled with the filling using the coconut oil substitution so I made them again using more butter in place of the shortening and they turned out great and my eldest can't get enough.
Mix the dry ingredients

On low speed add the butter then the egg. Mix until it comes together in a mass.

Place rounded teaspoons on parchment lined baking sheets, then with a moistened hand flatten slightly.

Bake for 9 minutes rotating once for even baking. (I forgot the rotating part.)

Make the filling according to above directions, should come out light and fluffy.
Place teaspoon size blobs of filling in between two cookies and enjoy!

Meatloaf

The meatloaf in the picture above uses turkey for the meat but you can use either.
I am not a big fan of meatloaf but the rest of my family is and after using a few different recipes this one seems to be the family favorite. It is based on a recipe from Weight Watchers New Complete Cookbook with some modifications.
Ingredients
1/2 onion chopped
1 lb. ground beef or turkey (I used turkey)
4 slices bread torn into small pieces
½ cup milk
1 egg lightly beaten
3 tbsp ketchup
2 tbsp grated Parmesan cheese
½ tsp garlic powder
½ tsp dried basil
¼ tsp dried thyme leaves, crumbled
¼ tsp ground pepper
Directions
1. Preheat oven to 350; oil an 8 x 5 loaf pan.
2. In medium bowl combine the onion, turkey, bread pieces, milk,
egg, ketchup, cheese, garlic powder, basil, thyme, and pepper; mix well. Shape
into loaf and transfer to pan. Bake until browned and cooked through, 50-60
minutes. Let stand 10 minutes before slicing.
Thursday, May 31, 2012
Homemade Nutella

My love affair with Nutella® started when I was introduced to it when I was living in Francophone Africa as a child. It was available at the local french supermarket that we shopped at and I do not know what my mom was thinking but she bought it for us. The rest is history. I would slap that heavenly spread on toast for breakfast, lunch and dinner if I was allowed. As an adult and as I got older and had to start to watch my weight I did not have it near as often but would buy it once in a while as a treat for myself and the kids. Well it is not authorized on the Feingold diet (probably because it has vanillin instead of vanilla) so we have not had it in the house since we put my eldest on the Feingold diet. So I have been bound and determined to find a good recipe to home make it. I have tried a few different recipes which have all been okay but so far I like this one the best. http://www.ohnuts.com/blog/2011/01/homemade_nutella_recipe_1.html It tastes great, spreads well, and is fairly simple to make. I will probably tweak it a bit the next time I make it, just because that is what I do, but it works great just the way it is.
Ingredients
2/3 cup unsalted, skinless, hazelnuts (in an ideal world you can find these pre-packaged, but I do not live in an ideal world and could not find them in my neck of the woods, so had to settle with ones with the skin on them. This link gives a great way to quickly and easily get the skin off. peel / skin hazelnuts )
3/4 cup sweetened condensed milk (recipe for making your own sweetened condensed milk )
3 oz. or 1/2 cup unsweetened chocolate, finely chopped. ( I used 3 Baker's squares)
3 tbsp honey, agave nectar, Lyle's golden syrup, or other syrupy liquid sweetener (I used golden syrup)
Directions
1. Pre-heat oven to 350. Place the hazelnuts on a cookie sheet and toast them in the oven for about 10 to 12 minutes, rotating them every 3-4 minutes so as not to scorch them. Then set them aside until cooled.
2. Once they are cooled place them in the food processor and process until as liquified as possible. This will take a little bit, at least five minutes. You may need to stop periodically to scrape the sides.
3. Melt the chocolate along with the sweetened condensed milk and honey or whatever you chose to use in its place (I used golden syrup). You can either melt it using the double boiler method, or microwave. I do not have a double boiler so I used the microwave. I put the ingredients in a microwave safe bowl and microwaved it at 50% power in 20 second increments stirring in between until it was melted.
4. Add the chocolate mixture to the food processor with the liquified hazelnuts and process until it smooths out. Do not over process though or it will get too stiff and not spread as well.
There you have it! Homemade nutella®!! There goes any thoughts whatsoever of me going on a diet!

Toast the hazelnuts. If you bought already pre-packaged toasted hazelnuts this step may not be necessary.

Liquify hazelnuts in food processor, may take awhile.

Melt chocolate, sweetened condensed milk, and honey in microwaveable bowl or double boiler on stovetop, and mix well

Add chocolate mixture to liquified hazelnuts

Process together until mixture smooths out and is somewhat shiny. Do not over process or it may get too stiff. Place in storage container of choice (or eat it!) and you are done. The uses for it are endless!!
Sweetened Condensed Milk

I often don't realize I am out of sweetened condensed milk until I am getting ready to make a recipe. Then I cannot make the recipe and by the time I have it, the inclination to make what I was going to make has passed. However a short while ago I found this super easy recipe to make it myself and I love it. It turned out great and I have used it in a few recipes so far with no issues. Here is the link to the recipe I used http://dessertnowdinnerlater.blogspot.com/2012/03/sweetened-condensed-milk.html
Ingredients
1 cup sugar
1 cup dry powdered milk
1/2 cup water
1 Tbsp butter
Directions
1. Put sugar and powdered milk in a blender (I already had my food processor out so used it instead)
2. Put water and butter into a microwaveable dish and let it come to a boil in your microwave; about 45-60 seconds.
3. Add water/butter mixture to blender or food processor and mix until combined.
Makes about 1 1/2 cups

Add the powdered milk and sugar to food processor

Process until you have a fine powder. Then add the water/butter mixture, process until combined, pour into storage container of choice, and store in fridge. Enjoy!

Tuesday, May 29, 2012
Homemade Marshmallows

As those of you that have read any of my food blog posts know we are on a special diet called Feingold because of my eldest child's sensitivity to food dyes and other chemicals in foods. So I home make a lot of our food and we eat a lot of organic foods because of them not having some of those chemicals. Well it is camping and smores time in our neck of the woods and I did not want our son to be left out of the fun. Among other things store bought marshmallows have blue food dye in them. Really!!!! Is that really necessary??!! Apparently so. Last summer I tried a couple of different recipes that were okay but I was not thrilled with and just melted when trying to roast them. Also a lot of recipes call for corn syrup which is not restricted on the Feingold diet but we still try not to use it. After asking around a friend of mine suggested a recipe she found and used from this blog. http://looksgoodinpolkadots.wordpress.com/2008/01/02/homemade-marshmallows-yum/ All I can say is AWESOME recipe!! I made it for our last camping trip and they tasted great and could be roasted over the campfire. Some of the other kids at the campsite were asking for the homemade ones over the store bought ones. Success!! I have copied and pasted the recipe below, the only change I made is adding that you can use Lyle's Golden Syrup instead of the Agave Nectar. I happened to have the Lyle's Golden Syrup on hand so I tried it and it worked great.
Step 1- make corn syrup replacement (or skip this step and use Agave Nectar or Lyle's Golden Syrup).
2 c. organic cane sugar
3/4 c. filtered water
1/4 tsp. cream of tarter
Dash of kosher salt
- Combine ingredients in heavy saucepan, bring to a low boil over medium heat, stirring constantly. Reduce heat, cover and allow to simmer for about 3 minutes, scrape down sides of pan to incorporate all sugar.
- Remove lid and allow to simmer until reaches soft ball stage (about 235 degrees F).
- Cool, store in airtight container at room temp.
- Makes 2 C.
3 T. of unflavored Gelatin (or sub Agar Agar Powder, most recommendations I’m finding state equal amounts, though I’ve found one that says 1 tsp per cup of liquid).
1 c. chilled filtered water
1.5 c. organic cane sugar
1 c. corn syrup replacement (cane sugar recipe above or agave nectar or Lyle's golden syrup)
1/4 tsp. kosher salt
1 tsp. real vanilla extract
1/4 c. powder sugar (or process cane sugar until fine and powdery, add a bit of starch to achieve same consistency)
1/4 c. corn starch/tapioca flour/potato starch/arrowroot powder
- Chill your metal mixing bowl and whisk attachment(s).
- Place chilled bowl on base of stand mixer and attach whisk.
- Start by putting gelatin (or replacement) into bowl.
- Add 1/2 c. chilled water
- In medium saucepan combine remaining water, cane sugar, corn syrup replacement and salt. Cover and cook for about 3 minutes. Uncover and continue to cook until mixture reaches about 235-240 degrees F (soft ball stage). Once temperature is reached remove from heat.
- Now, turn your stand mixer on low. Slowly add hot mixture to gelatin. When all syrup is added, put mixer on high. Continue to whip until mixture becomes thick and temp cools. Add the vanilla and whip for about a minute longer.
- This mixture will whip for 10-15 minutes. So, prepare your pans while it is mixing.
- Spray a 13 x 9 inch rectangular pan with non-stick cooking spray (I just oiled it using FG approved oil). Combine powder sugar and corn (tapioca or potatoe if corn is out) starch in a small bowl. Sprinkle mixture in pan (saving some for sprinkling on top of marshmallows), cover pan and shake to fully coat.
- Now you can add the mixture to the pan. It is difficult to spread. Use a rubber spatula coated with non stick spray (or oil). Once spread out in the pan, sprinkle the top with more of the sugar/cornstarch mixture, cover w/ foil and allow to set up over night. Cut into 1 inch pieces, roll in powdered sugar / corn starch mixture and store in zip top bag at room temp. Again so glad that I found this recipe on this blog!! http://looksgoodinpolkadots.wordpress.com/2008/01/02/homemade-marshmallows-yum/
Wednesday, March 21, 2012
DIY Jewelry storage / display


I cut out every other slat. Now ideally it would be nice to use a Dremel Multi-Max with the right attachment to cut the slats flush with the sides and with a little sanding and painting you would never know the other slats were there in the first place (this is shown here on the site I got the idea for the magazine rack http://www.myrepurposedlife.net/2011/10/repurposed-shutter-magazine-rack.html). However I do not have that tool and am trying to do this project on the cheap so was not going to go out and buy it either. So I just used a Black and Decker HandiSaw (as shown in the following picture of my hubby), and just cut it the best I could without nicking the surrounding slats and removed the pieces.


I then proceeded to primer it. I already had the primer on hand from when the house was being worked on. I put two coats of primer on it because the wood was so dark and I thought it would be easier to put multiple layers of primer than multiple layers of paint. This is a picture of the magazine rack primered.

Then I painted it and varnished it. The paint I bought from the Lowe's discount rack (you know the paint that people have mixed but then don't buy). From the choices available this seemed like the best option. The varnish I had from previous projects. The ornamental wood molding I also bought at Lowes and spray painted purple using paint I had on hand from another project. The hooks are just standard S hooks I picked up at the local hardware store and also spray painted purple.

Hope you enjoy and are inspired to re-purpose something! My next project I have in the works that both my hubby and I are working on is making a coffee table using re-purposed materials. I will share when we have it finished!
Tuesday, March 20, 2012
Homemade Thin Mints

Ingredients for wafer
2 1/4 cups all purpose flour
1/4 cup cornstarch
6 tbsp unsweetened cocoa powder
1/2 tsp salt
1 cup white sugar
1/2 cup butter, room temperature (I used Tillamook)
1/3 cup milk (I used Horizon)
1/2 tsp vanilla extract
3/4 tsp peppermint extract
Ingredients for chocolate coating
18-oz dark or semisweet chocolate, (I used Ghirardelli and did half semi-sweet chocolate chips and half milk chocolate chocolate chips)
1/2 cup butter, room temperature
3/4 teaspoon peppermint extract (not in original recipe but I found the mint taste a little lacking in the wafers)
(I also added a couple teaspoons coconut oil)
Directions
In a small bowl, whisk together flour, cornstarch, cocoa powder and salt.

In a large bowl, cream together butter and sugar. With the mixer on low speed, add in the milk and the extracts. Mixture may look a little curdled.

Gradually, add in the flour mixture until fully incorporated. If too crumbly add a tad more milk.

Shape dough into two logs, about 1 1/2 inches (or about 4 cm) in diameter, wrap in plastic wrap and freeze for at least 1-2 hours, until dough is very firm.

Preheat oven to 375F.
Slice dough into rounds not more than 1/4 inch thick – if they are too thick, they will not be as crisp. As I was slicing I would rotate the log after each slice to help prevent one side from getting flat. Place on a parchment lined baking sheet. Cookies will not spread very much, so you can put them quite close together.
Bake for 13-15 minutes (I had a few a little too done at 10 minutes, so check them, ovens vary), until cookies are firm at the edges. Cool cookies completely on a wire rack before dipping in chocolate.


Dip each cookie in melted chocolate, turn with a fork to coat, then transfer to a piece of parchment paper or wax paper to set up for at least 30 minutes, or until chocolate is cool and firm.
Reheat chocolate as needed to keep it smooth and easy to dip into.

Makes 3 1/2-4 dozen cookies.
Worship
I posted this a few days ago on FB and thought I would share it here as well.
Psalm 95 was in my Bible reading this morning and of course made me think of this song. "Come Let Us Worship and Bow Down." http://www.youtube.com/watch?v=oxPH34udgN0&feature=share So beautiful and soothing. It also makes me think of this Lent season. To me recognizing and following Lent it is a form of worship. The scripture talks about kneeling before the Lord, which is an act of humility, an act of humbleness, denying our self and focusing on the Lord. So too is the time of Lent, when people deny self and yield to God through prayer, fasting, and repentance. While I don't think this should only be reserved for the Lent season, Lent is often a time when people put forth an extra effort in this area. How beautiful is it to just lay everything out before Him, to strip away the old self, humbly kneeling before the Lord, Our God, Our Maker and how beautiful is it that the Maker of the Universe when we do not deserve it shows us grace, takes us in, completes us, and fills our spiritual emptiness. We truly serve and amazing, wonderful, loving, just God.
The other part of Psalm 95 that spoke to me was verse 8 "Today if you hear his voice, do not harden your hearts as you did at Meribah, as you did that day at Massah in the desert" This verse has a history and personal meaning for me and my hubby, but what struck me about it today was that as previously stated in the text we are the people of his pasture, the flock under his care and I really don't want to be one to harden my heart and choose not to hear his voice. I know there have been times when he has spoken to me and because of my busyness and other self placed obstacles I have not heard him. How I have missed out! It is heartbreaking for me to come to this realization and admit it but I want to make a whole hearted effort for that not to happen. To be quiet and listen and open my heart to all he has to offer.
The other part of Psalm 95 that spoke to me was verse 8 "Today if you hear his voice, do not harden your hearts as you did at Meribah, as you did that day at Massah in the desert" This verse has a history and personal meaning for me and my hubby, but what struck me about it today was that as previously stated in the text we are the people of his pasture, the flock under his care and I really don't want to be one to harden my heart and choose not to hear his voice. I know there have been times when he has spoken to me and because of my busyness and other self placed obstacles I have not heard him. How I have missed out! It is heartbreaking for me to come to this realization and admit it but I want to make a whole hearted effort for that not to happen. To be quiet and listen and open my heart to all he has to offer.
Come, All Who Are Thirsty
My reading this morning started with Psalm 55:1, "Come, all who are thirsty, come to the waters;" It immediately reminded me of this song, "For Those Tears I Died" that I first heard as a teenager when my youth pastor sang it in church, it spoke to my heart then and still does today. http://www.youtube.com/watch?v=kwIoSGY7bLY
"And Jesus said, Come to the water, stand by my side,
I know you are thirsty, you won't be denied.
I felt every teardrop when in darkness you cried,
And I strove to remind you that for those tears I died"
My reading continued in Ezekiel 47 where the Bible shares the prophesy given to Ezekiel about the restoration of Jerusalem and the healing, life giving water flowing from the temple. Kind of fitting that the water flows to the Dead Sea restoring it, freshening it, giving it life and sustaining life. This meditation from The Word Among Us sums it up really well. http://wau.org/meditations/current/ Jesus is our new temple, restoring us from the death of sin and giving us new life in him allowing us to drink freely of the water of life. He quenches our spiritual thirst and is the only source that can. Searching elsewhere for this satisfaction is pointless. His love to us is free, he has already paid he price, as the song says all we have to do is pray, invite him in. He is knocking on the door of your heart, will you hear and open the door and let him in?
Saturday, March 3, 2012
DIY Magazine Rack from old Shutter


I chose to fill in the indentations where the hinges were with wood putty but you don't have too. Not doing so I think kind of adds to the whole re-purposed look, so either way works. I already had the wood putty on hand otherwise would probably not have gone out to buy some just for this.


Stay tuned for what I decide to use the other half of the closet door for!!

Subscribe to:
Comments (Atom)