
These are soooo gooood!! Made using a recipe from this website http://smittenkitchen.com/2007/05/my-kingdom-for-a-glass-of-milk/#comment-1930118 So with Father's Day coming up (we are celebrating early) I wanted to make an ice cream cake (recipe to come later) for my hubby. I have not made it in a while and he looves it. The recipe calls for an oreo crust as the base but you guessed it, my eldest cannot have the name brand oreos. I am not about to make something that good that my child cannot have. There are alternative brands he can have but the last one we tried we were less than impressed with. Besides I am kind of more inclined to make my own and am trying to use up food items in the pantry and fridge in preparation for an upcoming move. I got on Pinterest, found this recipe, made them and think I have added inches to my waistline just by making them. I am not sure these are going to make it into the ice cream cake as I am sure they will get eaten beforehand.
For the chocolate wafers:
1 1/4 cups all-purpose flour
1/2 cup unsweetened Dutch process cocoa
1 teaspoon baking soda
1/4 teaspoon baking powder
1/4 teaspoon salt
1 to 1 1/2 cups sugar (I used 1 1/4)
1/2 cup plus 2 tablespoons (1 1/4 sticks) room-temperature, unsalted butter (I used Tillamook)
1 large egg
1 1/4 cups all-purpose flour
1/2 cup unsweetened Dutch process cocoa
1 teaspoon baking soda
1/4 teaspoon baking powder
1/4 teaspoon salt
1 to 1 1/2 cups sugar (I used 1 1/4)
1/2 cup plus 2 tablespoons (1 1/4 sticks) room-temperature, unsalted butter (I used Tillamook)
1 large egg
For the filling:
1/4 cup (1/2 stick) room-temperature, unsalted butter
1/4 cup vegetable shortening (I used coconut oil which worked great. It did give the filling a slight coconut flavor but was unnoticeable when combined with the cookie part, or you can use an additional 1/4 butter)
2 cups sifted confectioners’ sugar
2 teaspoons vanilla extract
- Set two racks in the middle of the oven. Preheat to 375°F.
- In a food processor, or bowl of an electric mixer, thoroughly mix the flour, cocoa, baking soda and powder, salt, and sugar. While pulsing, or on low speed, add the butter, and then the egg. Continue processing or mixing until dough comes together in a mass.
- Take rounded teaspoons of batter and place on a parchment paper-lined baking sheet approximately two inches apart. With moistened hands, slightly flatten the dough. Bake for 9 minutes, rotating once for even baking. Set baking sheets on a rack to cool.
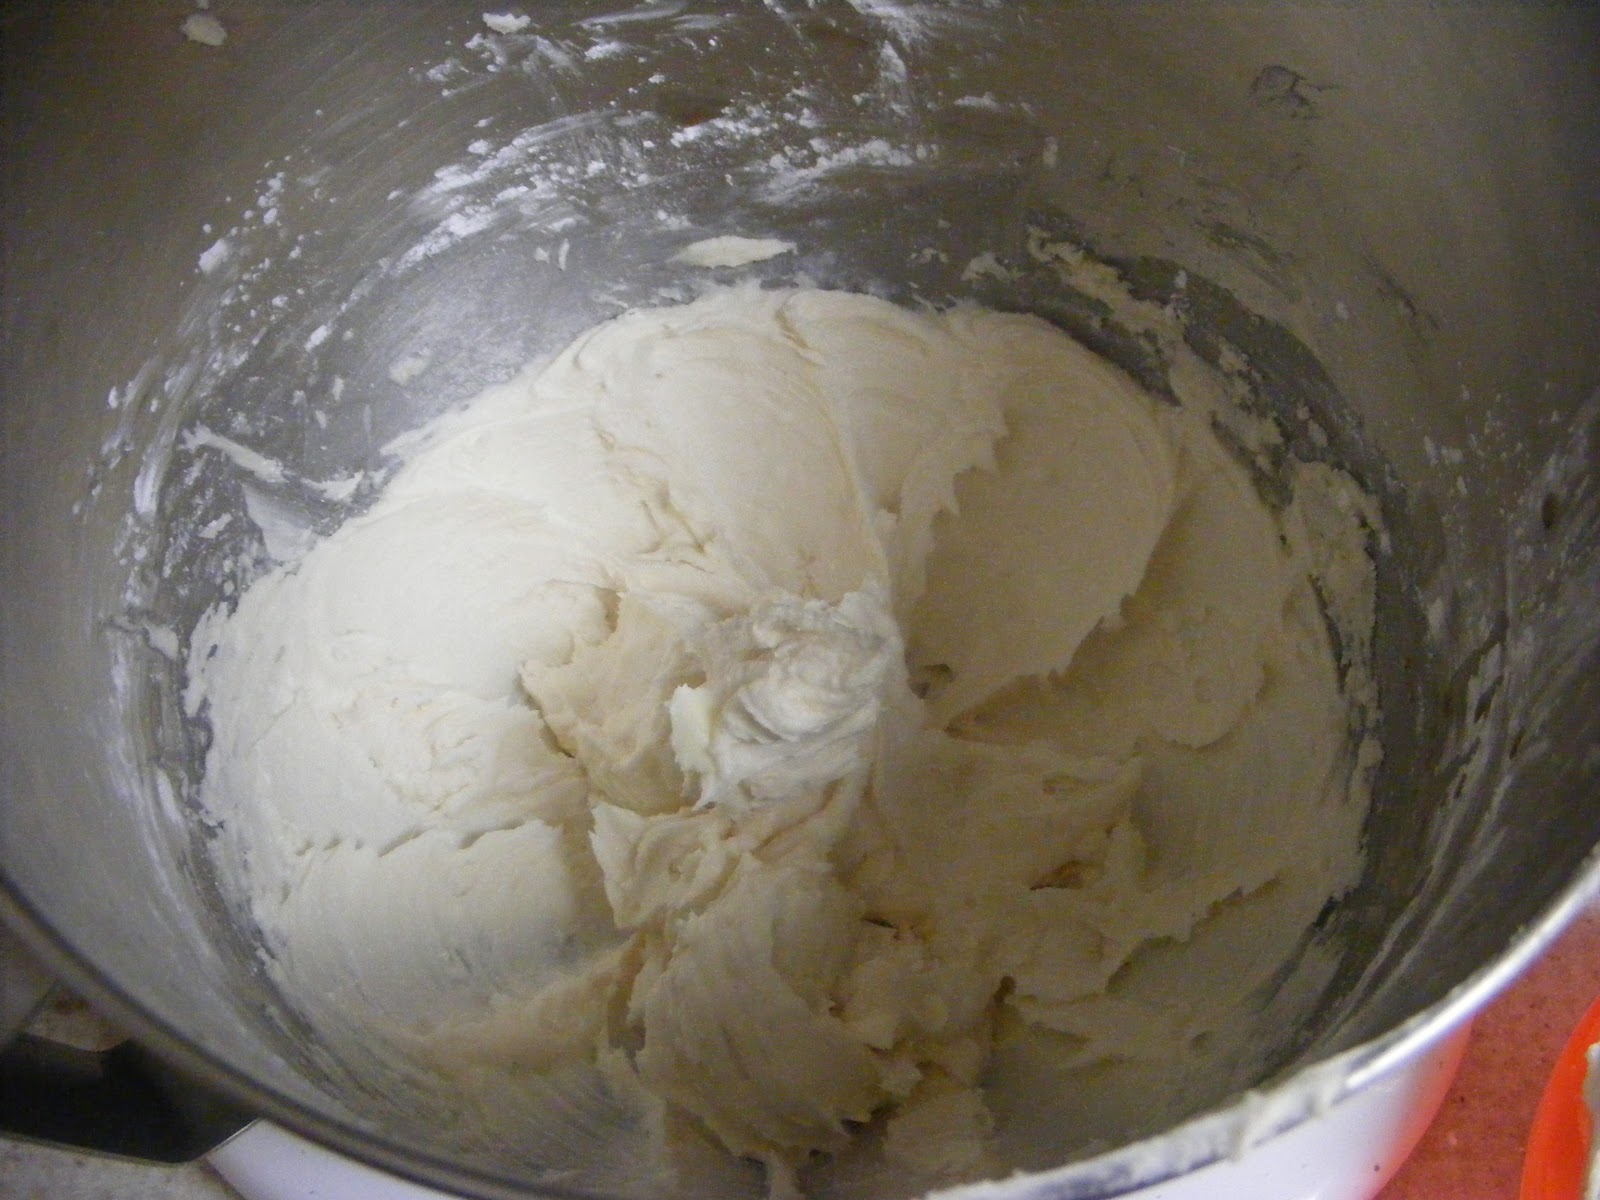
- To make the cream, place butter and shortening (or substitute) in a mixing bowl, and at low speed, gradually beat in the sugar and vanilla. Turn the mixer on high and beat for 2 to 3 minutes until filling is light and fluffy.
UPDATE : Even though my husband, youngest and myself loved how these turned out my eldest was not thrilled with the filling using the coconut oil substitution so I made them again using more butter in place of the shortening and they turned out great and my eldest can't get enough.
Mix the dry ingredients

On low speed add the butter then the egg. Mix until it comes together in a mass.

Place rounded teaspoons on parchment lined baking sheets, then with a moistened hand flatten slightly.

Bake for 9 minutes rotating once for even baking. (I forgot the rotating part.)

Make the filling according to above directions, should come out light and fluffy.
Place teaspoon size blobs of filling in between two cookies and enjoy!

No comments:
Post a Comment