Pages

Sunday, May 25, 2014

Peanut Noodles


     I found this recipe in a Weight Watchers cookbook and instantly fell in love with it. I love pasta and I love peanut sauce, so knew I had to make this. Due to being gluten free I used quinoa noodles, plus they are high in protein. This is a great meal to make when you need a carb and protein boost. I made it when I was working hard getting my scuba certification and needed the extra umpf for my dives. I also added chia seed and ground flax seed for extra protein, anti-oxidants and omega-3. This is one that is hard for me to use portion control on! You do not have to use tofu if you do not want to, you could use any other pre-cooked meat. I think pork or chicken would work well. I use the tofu though. :)

Makes 4 servings, yields 6 cups, 495 calories per serving, 10 WW points per serving

Ingredients
1/2 lb of spaghetti noodles
2 carrots, sliced
1/4 lb fresh snow peas (I did not have any so used fresh green beans)
1 red bell pepper, seeded and thinly sliced
1/3 cup natural peanut butter (I used more, depends on how you like it)
1/4 cup hoisin sauce
1 1/2 tablespoons packed brown sugar (I used 2 1/2 tablespoons honey instead)
1 1/2 tablespoons reduced sodium soy sauce
1 tablespoon rice vinegar
1/2 teaspoon canola oil
1 tablespoon minced, peeled fresh ginger (I used more)
1 garlic clove, chopped
1/4 teaspoon crushed red pepper
1/2 lb low fat firm tofu, cut into 1/4 inch cubes (or any other pre-cooked meat.)
2 tablespoons chopped unsalted peanuts
1 scallion, chopped
1. Cook spaghetti according to package directions, adding carrots, snow peas, and bell pepper during last 2 minutes of cooking; reserve 1/2 cup pasta water and drain.
2. Combine peanut butter, hoisin sauce, brown sugar (or honey), soy sauce, and vinegar in a bowl.
3. Heat oil in a saucepan over medium-high heat. Add ginger, garlic, and crushed red pepper; cook 30 seconds. Stir in peanut butter mixture and the reserved pasta water. Cook 3 minutes, stir in tofu, and continue to cook until hot, about 3 minutes longer. Toss in large bowl with the pasta and vegetables, then transfer to a serving platter and sprinkle with the peanuts and scallion.

Saturday, May 24, 2014

Upcycling used shutters to hang / display pictures


Here again you can see my love of using old shutters for upcycling projects. :) My three year old loves pictures and wanted some hung in her room. I remembered seeing ideas like this on Pinterest and picked up these shutters at the Habitat for Humanity Re-Store. The hardware on the top I also found at the Re-Store and I think were old cabinet hardware. The paint I found on the clearance section at Wal-mart and are the colors of my daughter's curtains. I also used the same paint to paint an old dresser I put in her room. I used binder clips to clip the pictures. I wanted to use clothespins and even bought the mini ones to use with this but this was a small shutter, probably for a cabinet or something and the slats were too close together to fit the clothespins. I also used contact paper to "laminate" the pictures so if my daughter pulled them down she would not ruin the pictures. We can change out the pictures as she gets older and want more recent ones up and I can see this being something she keeps in her room for years. This measures 25 inches high and 10 inches wide.

I did not strip the paint because I learned from a previous project what a huge pain that is, especially with these close together slats. I just did kind of a cursory sanding of it, painted it, and spray lacquered it. This is a rather small one and so I just used some picture hanging hooks on the back of it.
A before picture

 
Before picture of the hardware


DIY Headboard from Old Door


As far as final product, out of all the DIY projects I have done, this is probably my favorite. We have needed a new headboard for many years but I did not ever really like what I found or if I did like it I did not want to pay the high price. I went through tons, and I mean tons of Pinterest pictures for DIY headboards and toyed with the idea in my head for a couple years before finally just doing it. I picked up an old door from the local Habitat for Humanity Re-Use store for $25 and the crown molding and paint from Lowes. I chose the color paint based on the colors of some wall hangings we have hung above the headboard (not pictured here). I do not really have how I did it step by step because I was not blogging at the time but I got the idea from this website which does have step by step. Of course I made a few changes as I went due to available supplies, time, tools and style.  http://www.infarrantlycreative.net/door-headboard-roadkill-rescue/    Below is the before shot. The door was just a used plain white bedroom door. I did not strip the paint off the door but did sand it down a bit to help the paint I put on stick better. I also used pre-fabbed crown molding corner's because it just seemed easier. :)


Tabouli Salad


Tabouli is something else I have been eating since I was a kid. It is a popular middle eastern salad and I think super yummy. I ate it a lot when we lived in Egypt when I was growing up. It is normally made with bulgar and some make it with couscous but because I eat wheat and gluten free I make it with quinoa OR grated cauliflower. An added bonus is that quinoa is high in protein. This is a recipe based on one I found in
http://www.amazon.com/The-Fibromyalgia-Cookbook-Delicious-Recipes/dp/1402239122/ref=sr_1_1?ie=UTF8&qid=1400955227&sr=8-1&keywords=fibromyalgia+cookbook , however I did make a couple revisions.

Indgredients
2 cups water or chicken stock or vegetable stock (I use vegetable stock)
1 cup quinoa, or couscous, or bulgar, or barley or grain of choice OR grated cauliflower.
1 tomato diced
1 cucumber, seeded and diced
1/2 cup green onion, finely chopped
1/2 cup parsley, minced
1/2 cup fresh mint, minced
3 tablespoons extra virgin olive oil
2 tablespoons lemon juice
1 teaspoon sea salt, or to taste
Ground pepper to taste
Cilantro to taste (Cilantro is not in any Tabouli recipe but I like it and found it worked well in this dish, I put about 1/3 of a cup in it.)

 Directions
Cook quinoa or other grain and water or stock according to package directions. Once cooked add the vegetables and chopped herbs and toss to mix. Combine oil, lemon juice, salt, and pepper; add to quinoa / vegetable mixture and mix well. Chill for a couple hours or overnight for best results.

Thursday, May 22, 2014

Gazpacho

    
     Sooo, I know it has been a super long time since I have posted anything. About two years I guess. Too much has happened for me to be able to recap all of it but lets just say through all the ups and downs God has been faithful and continues to bless us. I continue to find and make new recipes and thought I would finally bite the bullet and start blogging them again. As far as crochet. I do still enjoy it and it continues to be a stress reliever for me but now that we have moved from Alaska to Hawaii I do not do it as much as I used to. Not to mention my time is kind of filled with kid stuff like homeschooling, dance recitals, taekwondo being an army wife and more island type hobbies (more on that later.)  I still love up-cycling and repurposing old things and will post a few of the projects I have done. For now I will start out small and post a recipe. 
     I do not know when I was first introduced to Gazpacho. I know it was as a kid on one of our many travels and I loved it. From then on, whenever I saw it in a restaurant, I ordered it. Not too long ago I was looking at soup recipes, just wanting a light meal, but again being in Hawaii did not want something hot. I thought of Gazpacho since it is a cold soup and went through several recipes, finally decided on this one and I love it. Not only that my oldest loves it too and asks for it about weekly. I do not make it weekly but he does ask for it.   I agree with this author that gazpacho is supposed to be a little thicker, not soupy and does not need added tomato juice. Refrain from grabbing the tomato juice!  http://www.slate.com/blogs/browbeat/2012/07/18/how_to_make_authentic_gazpacho_first_accept_that_it_s_not_a_tomato_smoothie_.html

Yield: 4 servings
Time: 10 minutes
Ingredients
2 pounds tomatoes, roughly chopped
1 medium red bell pepper, roughly chopped
½ medium cucumber, peeled and roughly chopped (I do not peel it)
½ red onion, roughly chopped
⅓ cup extra-virgin olive oil
⅓ cup almonds (or almond flour)
One ½-inch slice white bread, torn into 1-inch pieces (gluten free if you need to)
3 tablespoons sherry vinegar
1 medium fresh jalapeño, seeded and roughly chopped (I love this but leave it out if my son is going to be eating it)
2 garlic cloves
Salt and black pepper
1 avocado, thinly sliced (optional)

Directions
1. Put the tomatoes, bell pepper, cucumber, onion, olive oil, almonds, bread, vinegar, jalapeño, and garlic in a blender; season with salt and pepper. Process until smooth, adding up to ½ cup water if necessary. (Work in batches if not all the ingredients fit in your blender at once.)
2. Taste and adjust the seasoning. Refrigerate for up to a few hours before serving or serve immediately, garnished with the avocado if desired.

Tuesday, June 19, 2012

Unschooled

"They were greatly disturbed because the apostles were teaching the people, proclaiming in Jesus the resurrection of the dead. They seized Peter and John and, because it was evening, they put them in jail until the next day. But many who heard the message believed; so the number of men who believed grew to about five thousand......When they saw the courage of Peter and John and realized that they were unschooled, ordinary men, they were astonished and they took note that these men had been with Jesus." Act 4:2-4, 13

 God was using Peter and John in extraordinary, supernatural ways, in ways that could only be attributed to God, yet the passage takes care to note that they were unschooled, ordinary men. You don't have to have a seminary or Bible school degree or even have grown up in Sunday School to be used by God in amazing, miraculous ways. I know I have been guilty at times of thinking I did not know enough or had not studied enough or did not have the degree, to do something God was calling me to do but really it is just an excuse. With the power of the Holy Spirit we can truly do anything God is calling us to do. He wants it to be so evident that what we are doing could only be attributed to Him that many times he does use people or call people to do things for Him that are not in their comfort zone or areas of expertise. I urge each of you to be open and willing to be used by God in ways you never could have imagined. Follow where He is guiding you, even if it does not make sense to the world.

Thursday, June 7, 2012

Layered Ice Cream Cake


Like seven years ago or so I got this recipe from a hard copy of Family Circle Magazine and it became a favorite of my husband and I made it often for birthdays and special events. Pre - Feingold Diet I even made it once for the 4th of July using toxic food coloring to make red, white and blue layers. Not really quite sure why but the recipe kind of got put on the shelf and I have not made it in a year or two. Maybe because we live in Alaska now and I am always cold, not really thinking of things like ice cream or maybe because I did not want to go to the effort of trying to adapt it for the Feingold Diet (it was really easy to do so). Well I committed a major faux pas back in May and kind of overlooked my husband's birthday. I did not forget it. He was gone on business and me and the kids were gone to the lower 48 to visit family. We did call him and wish him happy birthday on his birthday, my eldest did get him a birthday present that he gave him at like 5am when he returned from his business trip, but we had said that we would pick a time to celebrate it when we were all together and we just never did. Because throughout 10+ years of marriage I have always made kind of a deal out of such events, unfortunately I think there were some hurt feeling from that. I know I cannot fix it but with Father's Day rolling around I wanted to make a big deal out of it. So we surprised my husband yesterday by celebrating Father's Day early. We will not be here for the actual Father's Day. We are taking a family vacation and are prepping for a big move. As part of the surprise Father's Day celebration I wanted to make a special desert and I thought this would be great. My husband's dessert of choice and comfort food is ice cream and for him I thought this would take the cake (no pun intended).  It was not hard to adapt it for the Feingold Diet although because the ice creams I used are natural without food dyes they do not have the colors that kind of pop out. Looking at the picture it might be hard to tell that it is actually layered with three different flavors of ice cream but it is. If you want to see a more professional picture of it you can look at this link I found referencing the original Family Circle recipe http://www.recipe.com/layered-ice-cream-cake/
I used vanilla, strawberry, and mint chocolate chip but you can use whatever flavor combination you choose.


Ingredients
15 Oreos (I made my own homemade oreos but there are pre-packaged brands for the Feingold Diet)
1 Tablespoon Milk
8-9 Ice Cream Sandwiches (I used Julie's Organic vanilla ice cream sandwiches)
1 Pint Mint Chocolate Chip Ice Cream (Breyers)
1 Pint Vanilla Ice Cream (Haagen Dazs comes in pint size)
1 Pint Strawberry Ice Cream (Haagen Dazs comes in pint size)
1 Container (8oz) frozen whipped topping, thawed (I made my own whipped cream adjusting the recipe to make 3 cups whipped cream but I think there are Feingold approved brands).
Directions
1. Oil Bottom and side of a 9inch round springform pan.  Line side with waxed paper, using oil to help adhere to pan.  Trim paper to height of pan.
2. Finely crush 12 of the cookies in a food processor.  Add milk; pulse until mixture holds together.  Set aside
3. Unwrap 4 ice cream sandwiches. Working quickly, cut each in quarters.  Stack strips of sandwiches on end, packing them snugly together, around waxed-paper lined pan.  Repeat with remaining sandwiches to form a stand up edge.  Spoon cookie crumbs into center of pan; press firmly over bottom.  Freeze one hour.
4. Remove all 3 flavors of ice cream or frozen yogurt from freezer and let soften for 15 minutes at room temperature. Transfer mint ice cream to a small bowl and stir until good but firm spreading consistency.  Repeat with vanilla and strawberry.  Remove pan from freezer.  Spread mint ice cream on bottom, then top with vanilla and strawberry, spreading all layers level.  Top with thawed whipped topping swirling top decoratively.  Crush remaining 3 Oreos and sprinkle over cake.  Return to freezer.

Oil springform pan and line side with wax paper.

Crush oreos in food processor, add milk, pulse until it starts to stick together.

Cut ice cream sandwiches in quarters and line sides of pan, add oreo mixture to the center and firmly press down to make bottom crust, freeze for an hour.

After stirring ice cream to spreading consistency add one flavor at a time, spreading to fill middle, making each layer level.


Then top with whipped cream which should come to the top of the pan, add broken up or crushed oreos, freeze, and when ready to serve remove side of pan and waxed paper.

Whipped Cream


If I knew how easy it was to make homemade whipped cream I would have been doing this long before I discovered this fact. I had this recipe in my box of recipe cards and am not sure where I got it from but again it is super easy.


For 1 cup whipped cream – beat ½ cup whipping cream and 1 tablespoon granulated  or powdered sugar in chilled small bowl with electric mixer on high speed until stiff (this may take several minutes).

For 1 ½ cup whipped cream – beat ¾ cup whipping cream and 2 tablespoons granulated or powdered sugar in chilled bowl with electric mixer on high speed until stiff (this may take several minutes).

Tuesday, June 5, 2012

Homemade Oreos!!


These are soooo gooood!! Made using a recipe from this website http://smittenkitchen.com/2007/05/my-kingdom-for-a-glass-of-milk/#comment-1930118 So with Father's Day coming up (we are celebrating early) I wanted to make an ice cream cake (recipe to come later) for my hubby. I have not made it in a while and he looves it. The recipe calls for an oreo crust as the base but you guessed it, my eldest cannot have the name brand oreos. I am not about to make something that good that my child cannot have. There are alternative brands he can have but the last one we tried we were less than impressed with. Besides I am kind of more inclined to make my own and am trying to use up food items in the pantry and fridge in preparation for an upcoming move. I got on Pinterest, found this recipe, made them and think I have added inches to my waistline just by making them. I am not sure these are going to make it into the ice cream cake as I am sure they will get eaten beforehand.

 
For the chocolate wafers:
1 1/4 cups all-purpose flour
1/2 cup unsweetened Dutch process cocoa
1 teaspoon baking soda
1/4 teaspoon baking powder
1/4 teaspoon salt
1 to 1 1/2 cups sugar (I used 1 1/4)
1/2 cup plus 2 tablespoons (1 1/4 sticks) room-temperature, unsalted butter (I used Tillamook)
1 large egg

For the filling:
1/4 cup (1/2 stick) room-temperature, unsalted butter
1/4 cup vegetable shortening (I used coconut oil which worked great. It did give the filling a slight coconut flavor but was unnoticeable when combined with the cookie part, or you can use an additional 1/4 butter)
2 cups sifted confectioners’ sugar
2 teaspoons vanilla extract
  1. Set two racks in the middle of the oven. Preheat to 375°F.
  2. In a food processor, or bowl of an electric mixer, thoroughly mix the flour, cocoa, baking soda and powder, salt, and sugar. While pulsing, or on low speed, add the butter, and then the egg. Continue processing or mixing until dough comes together in a mass.
  3. Take rounded teaspoons of batter and place on a parchment paper-lined baking sheet approximately two inches apart. With moistened hands, slightly flatten the dough. Bake for 9 minutes, rotating once for even baking. Set baking sheets on a rack to cool.
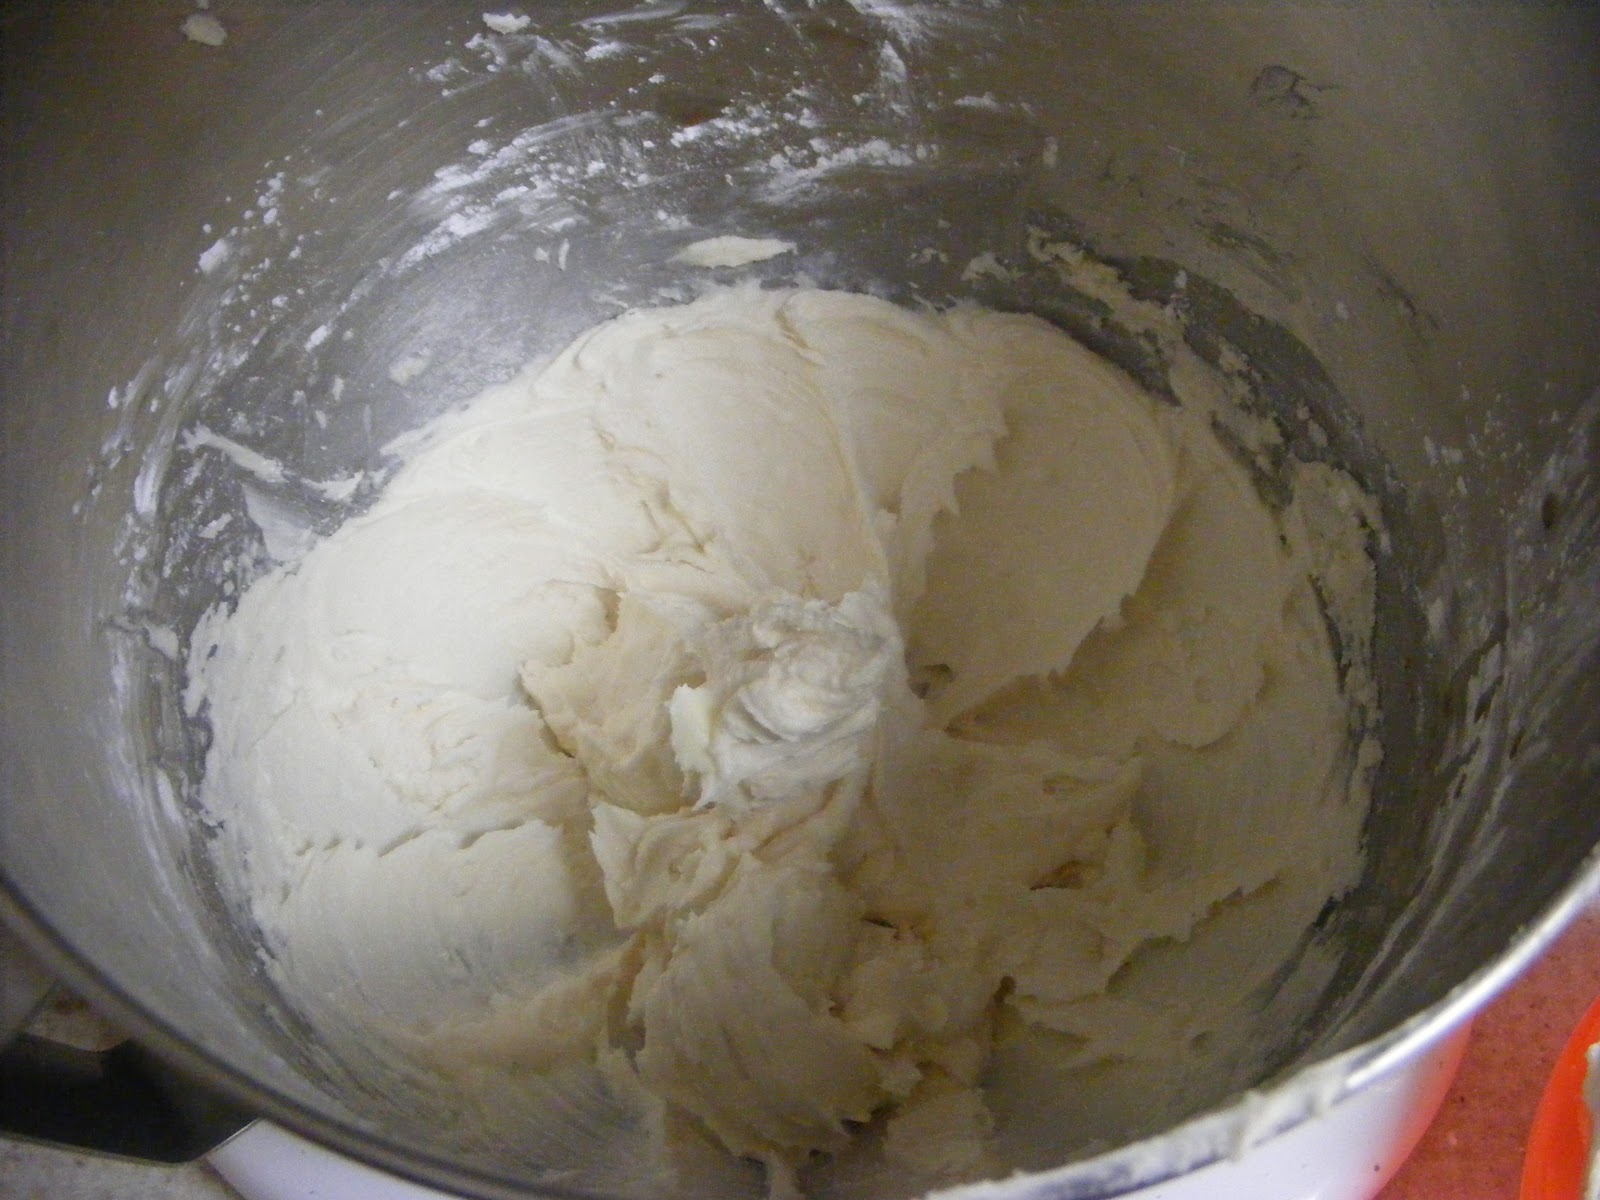
  4. To make the cream, place butter and shortening (or substitute) in a mixing bowl, and at low speed, gradually beat in the sugar and vanilla. Turn the mixer on high and beat for 2 to 3 minutes until filling is light and fluffy.
I did not have a pastry bag so just spooned the filling onto the cookies. To assemble the cookies, in a pastry bag with a 1/2 inch, round tip, pipe teaspoon-size blobs of cream into the center of one cookie. Place another cookie, equal in size to the first, on top of the cream. Lightly press, to work the filling evenly to the outsides of the cookie. Continue this process until all the cookies have been sandwiched with cream. 

UPDATE : Even though my husband, youngest and myself loved how these turned out my eldest was not thrilled with the filling using the coconut oil substitution so I made them again using more butter in place of the shortening and they turned out great and my eldest can't get enough.

Mix the dry ingredients


On low speed add the butter then the egg. Mix until it comes together in a mass.

Place rounded teaspoons on parchment lined baking sheets, then with a moistened hand flatten slightly.

Bake for 9 minutes rotating once for even baking. (I forgot the rotating part.)


Make the filling according to above directions, should come out light and fluffy.

Place teaspoon size blobs of filling in between two cookies and enjoy!


Meatloaf


The meatloaf in the picture above uses turkey for the meat but you can use either.

I am not a big fan of meatloaf but the rest of my family is and after using a few different recipes this one seems to be the family favorite. It is based on a recipe from Weight Watchers New Complete Cookbook with some modifications.


Ingredients
1/2 onion chopped
1 lb. ground beef or turkey (I used turkey)
4 slices bread torn into small pieces
½ cup milk
1 egg lightly beaten
3 tbsp ketchup
2 tbsp grated Parmesan cheese
½ tsp garlic powder
½ tsp dried basil
¼ tsp dried thyme leaves, crumbled
¼ tsp ground pepper

Directions
1. Preheat oven to 350; oil an 8 x 5 loaf pan.
2. In medium bowl combine the onion, turkey, bread pieces, milk, egg, ketchup, cheese, garlic powder, basil, thyme, and pepper; mix well. Shape into loaf and transfer to pan. Bake until browned and cooked through, 50-60 minutes. Let stand 10 minutes before slicing.